Creating a part
The four ways to get a part into the vault, and when to use each.
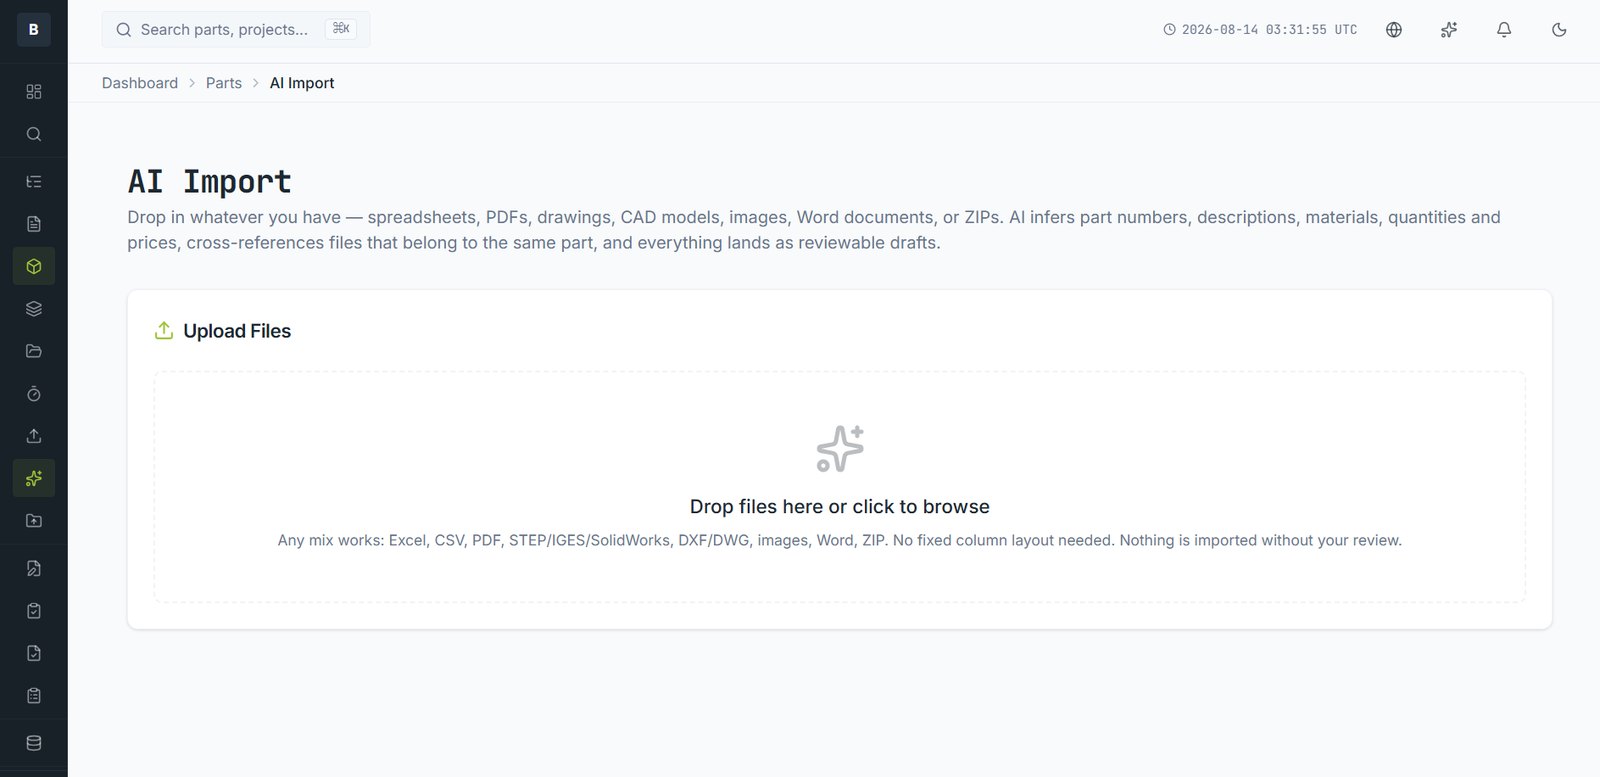
There are four routes. Which you use depends on what you're starting from.
1. Manually, in the browser
- Go to Parts and choose New Part.
- Pick a category. This is required and often drives the part number.
- Either accept the automatically generated part number or enter your own, if your company allows manual numbers.
- Fill in the description and any fields you have to hand — you can complete the rest later.
- Save. The part is created at revision A in a working state.
2. From SolidWorks
With the add-in installed, register the open model directly from the task pane. The part number is generated, the file is uploaded, and the vault identity is written back into the CAD file so it stays linked. See Checking work in.
3. AI Import — from whatever you already have
Drop in spreadsheets, PDFs, drawings, CAD files, images or a ZIP. Part numbers, descriptions, materials, quantities and prices are read out and cross-referenced, and everything arrives as reviewable drafts. Nothing enters the vault until you accept it.
4. Bulk Import — from clean data
If you already have a tidy, consistently structured export, Bulk Import is faster and more predictable than AI Import. Use AI Import when the data is messy; use Bulk Import when it isn't.
Deleting a part doesn't release its number for reuse. That's deliberate — a number that once meant something must never come to mean something else.
Email [email protected] and a person will pick it up. Include the part number and what you were doing — it saves a round trip.